
Die cutting machines (those nifty things you that allow you to cut through vinyl like butter) are becoming more and more popular.
Today I am going to cover cutting with one of the top two - the Cricut Explore Air. It's easy to get (most Walmart stores carry them) and is more flexible since the addition of Cricut Design Space. It allows you to purchase designs like mine and open them on your machine - leaving you limitless in possibilities.
After you've set up your machine and created a login you'll go to the Design Space page.

Cutting Single Layer Designs
Either click "Create a New Project" in the blue box or the File drop down and select "New" :

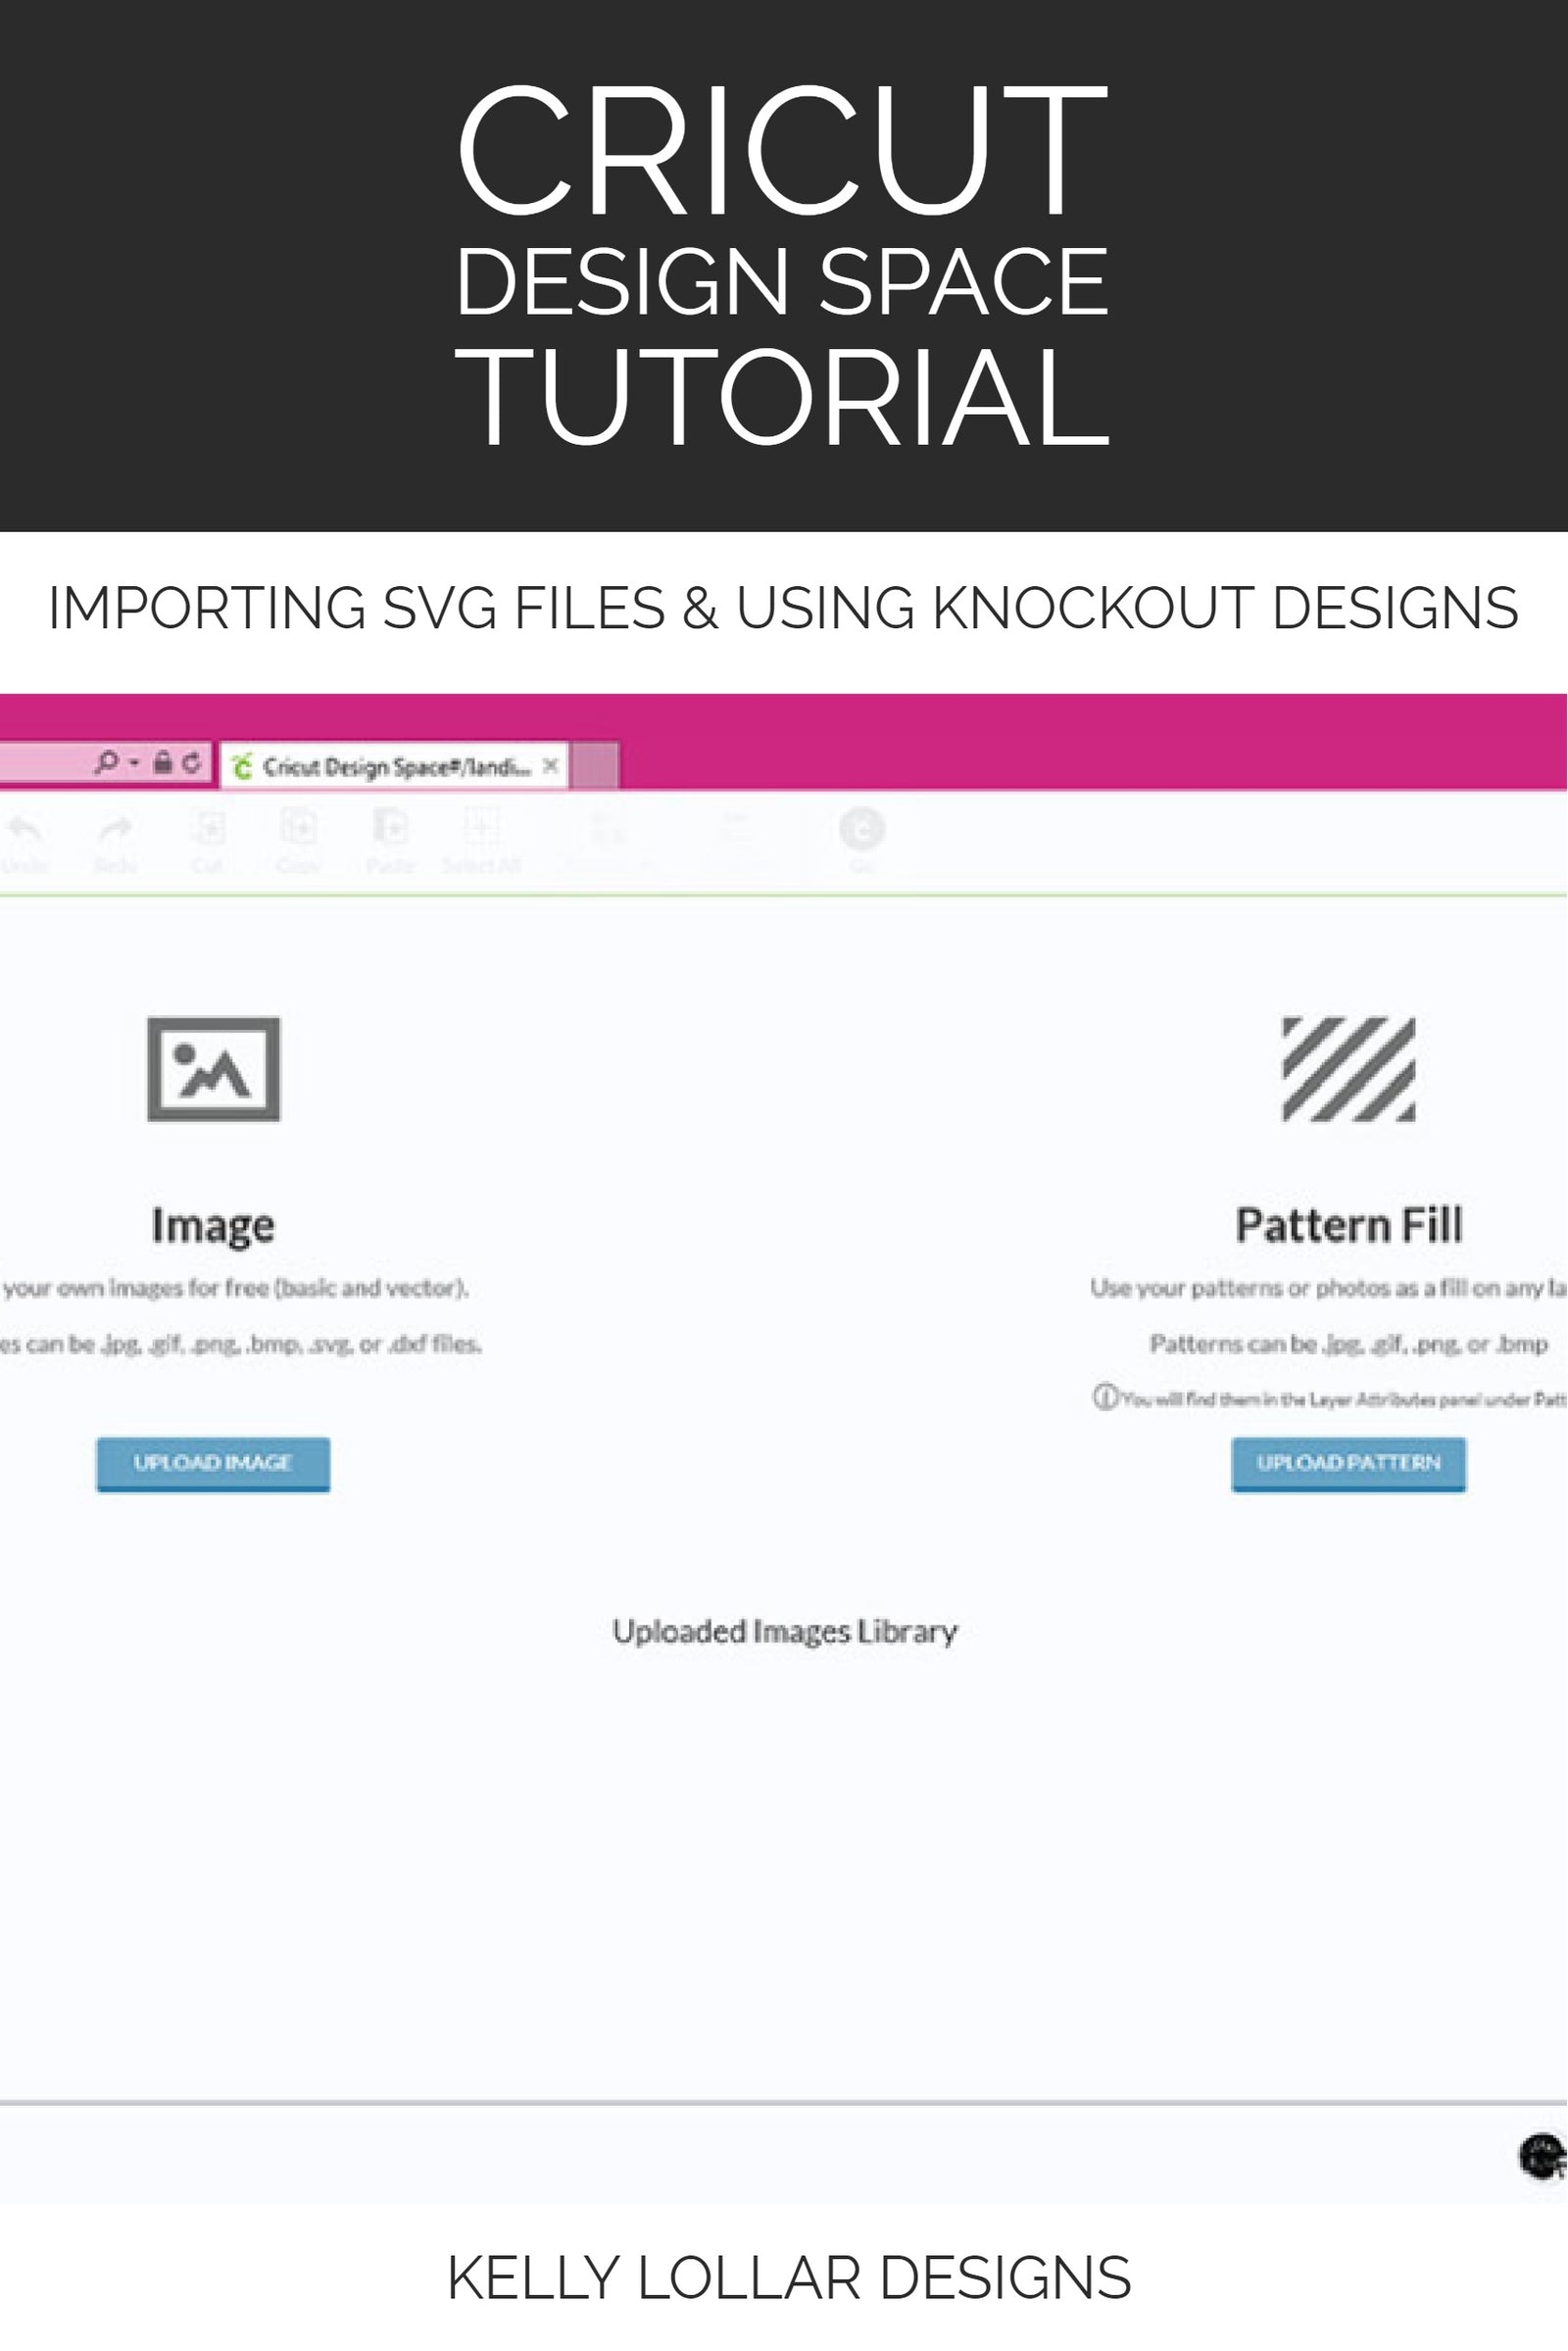
On the left side, select "Upload and Images" and then "Upload Image" in the middle of the page:

Click "Browse" and go to the folder you saved your file(s).
Pro-Tip: Create a master folder with subcategories for all of your designs. This will make it easier to find your designs each time.

The image name will be taken from the name of the file. If your image name is vague feel free to update it now.
You can also add tags to make it easier to search for later. (For instance I tagged this image with football, helmet, proud mama.)
Once you're done labeling, click "Save" in the lower right corner.

Time for the fun part! We'll start with a single image cut. Click on your image to select (a green corner and check mark should appear on it) and click "Insert Images" on the bottom right corner.

This is where knockout designs can be different. Usually you can press go (which works on my designs). But if the creator forgot to compound path the design, it can create a mess.
FIXING AN UN-WELDED KNOCKOUT DESIGN

In that case, go back to the beginning and do not press go.

So now we fix the problem. Click your image to make sure it's selected. A box should appear around it. Then click "Weld" in the right hand window at the top.

The right hand window should now have a new image labeled "Welded Image." Now it's time to click "Go" on the top bar.

You're almost there!
If your mat size is different you can fix that here. If you're making a tee shirt and using HTV, don't forget to check "Mirror Image" at the left.
Once all of those are set click "Go" and the lower left corner and cut away.

CUTTING MULTIPLE PIECES AT ONE TIME
Say you want to cut more than one piece to save time.
Follows the steps above to get all of your images loaded, then to more easily see where you are placing your elements, click "Set Canvas" to left.
Then select "Basic Canvas" (the random pink triangle, circle, and square) for a plain old 12" x 12" square:

Click "Upload Images" to the left again and click on each individual image you would like to cut.
Each one should have the green check mark corner appear on it. Click "Insert Images."

You'll see a white outline inside of your board. That represents the cutting area on your 12" x 12" mat.
To cut different colors you'll match up the places of the pieces with the placement on the screen. The graph on the screen matches your mat exactly.
So here I want the top layer of my flower to be a different color from the bottom layer so I'm going to put one on either end of the mat.
Then hold down shift and click on each element. You'll see a box pop up around all of them. Then click "Weld" at the top of the right hand window, just like we did with earlier.

You should see a new image labelled "Welded Image" in the right hand window. Make sure everything you would like to cut is included then click "Go" on the top bar.

Again, we're almost done. Adjust your mat size or mirror if needed then cut that sucker.

When to weld and when to group?
Quick note: What's the difference between welding and grouping?
Think of welding as more permanent - like actual welding you're associating those pieces together so when you move them they won't come apart.
Grouping is a quick and easy way to move pieces that will be the same color together like in the below image. It's a great to use if you don't have any knockouts to deal with.

And that's it. Simple as that. Even the most complex design can be simple to cut with a little patience and planning. Now the actual layering, that's all you.
Happy crafting!