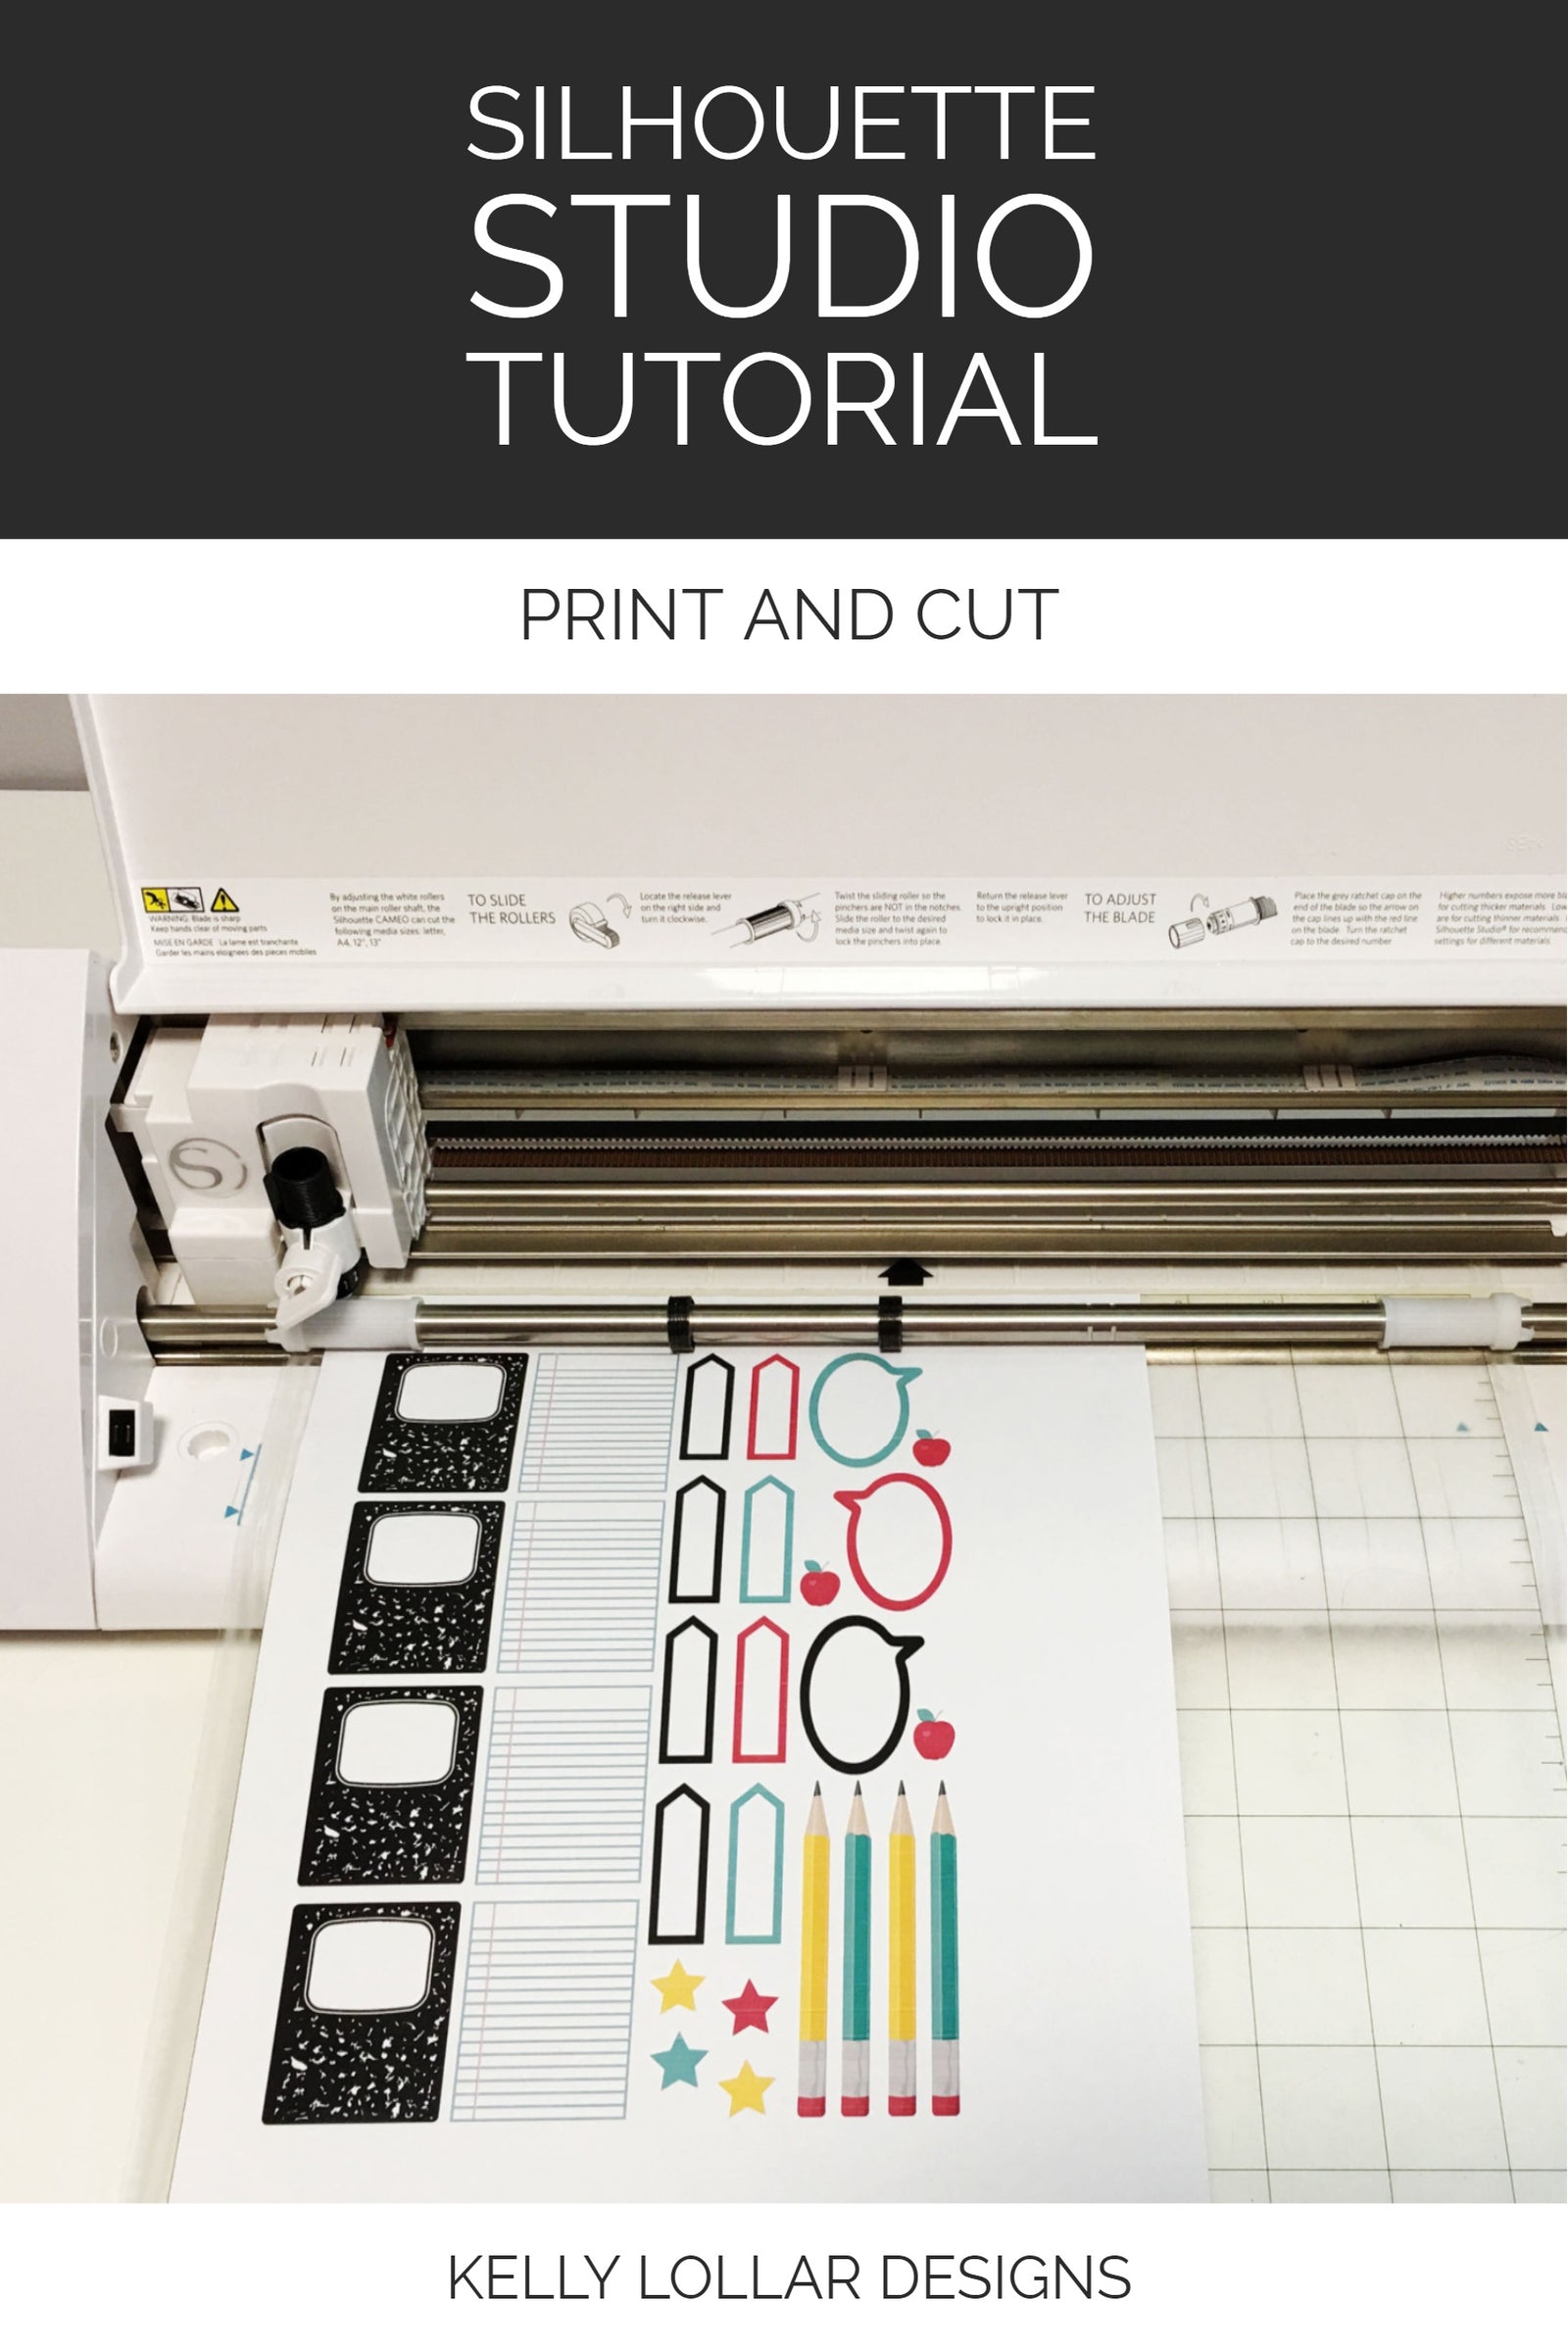
Vinyl is awesome, but what if you want a vinyl or paper project with all the pretty variations and colors? Print and Cut is your answer!
Today we'll be working with planner stickers, but you can apply this method for so many projects - printable vinyl, cards, scrap booking and more.
STEP ONE:
First things first, you'll need an image to print. Currently Silhouette Studio Basic Addition supports the following file types - jpeg, png, gif, bmp and tif. If you have the Design Edition Upgrade you can use svg and pdf files also. Most of your images will probably be jpeg, png or pdf.
You'll want to make sure your picture is high quality, 300 dpi or better, to make sure you get a clear print. You can check this by right clicking the image and selecting "Properties" then "Details." You'll either see a resolution listed (the dpi) or the pixel size (bigger is better).
DOWNLOAD THE SCHOOL PLANNER STICKER PACK HERE
After you open Studio, you'll want to set your material size. Most sticker paper is 8.5" x 11." Some scrapbook papers are a little larger. You can set the size by clicking the little paper icon on the top of the menu on the right hand side:
Once you pick your image, drag and drop or import it to Design Space like you would an svg file.
If you're following along with the planner stickers shown here, you'll want to drop in the png or pdf with the black silhouettes first:
You can resize your image to match the size you would like to print. The planner sticker sheets used here are all 6" w x 8" h (ok, just a smidgen wider than 6").
To resize look for the width and height in the top menu bar. Make sure your lock is one and change the height to 8".
To make sure everything lines up later, click on the transform icon on the right menu bar and click Center with the image selected.
STEP TWO:
Time to create your cut lines. Click Trace in the right menu bar. Click select Trace Area and make sure all of the silhouettes are selected.
You might have to play with the threshold and pass until everything is bright yellow. Once it is, click Trace Outer Edge:
You can delete the original image and you should be left with only red outlines of each piece in the center of the mat.
Time to drag and drop the sticker sheet onto the canvas now. Resize it and center just like the first sheet.
Now that everything is centered, the cut lines should match the stickers. Select everything and group to make it easier to move, then you can place it where you want it to print on your material:
STEP THREE:
Registration Mark time! Your Silhouette needs anchors to read so it knows where everything is placed on the page. You'll need to turn on these registration marks before printing.
Click the Page icon on the right menu bar again and click the top right icon for Registration Marks in the menu.
Select Type 1 in the drop down box if you are using a Cameo and move all of the bars as low as they will go to make the registration box as small as possible. I find this makes it a little easier for the machine to read the marks.
But if it doesn't read them automatically, you can manually adjust the machine during the cut just like you would for a test cut.
STEP FOUR:
Time to print using the Print icon in the top menu bar. Once your sheet is printed, place it on the mat in the top right corner and load your mat:

Click Send at the top right. Select your material ( white sticker paper in this case) then set your cut settings:
For this project I went with Fill and No Color, then double checked that my blade was set right and clicked Send.
Once your cut is done you can use your new piece or if you're making planner sticker, cut them down and place them in your planner.
I use a Happy Planner which holds 7" x 9.25" sheets:

Happy Crafting!
